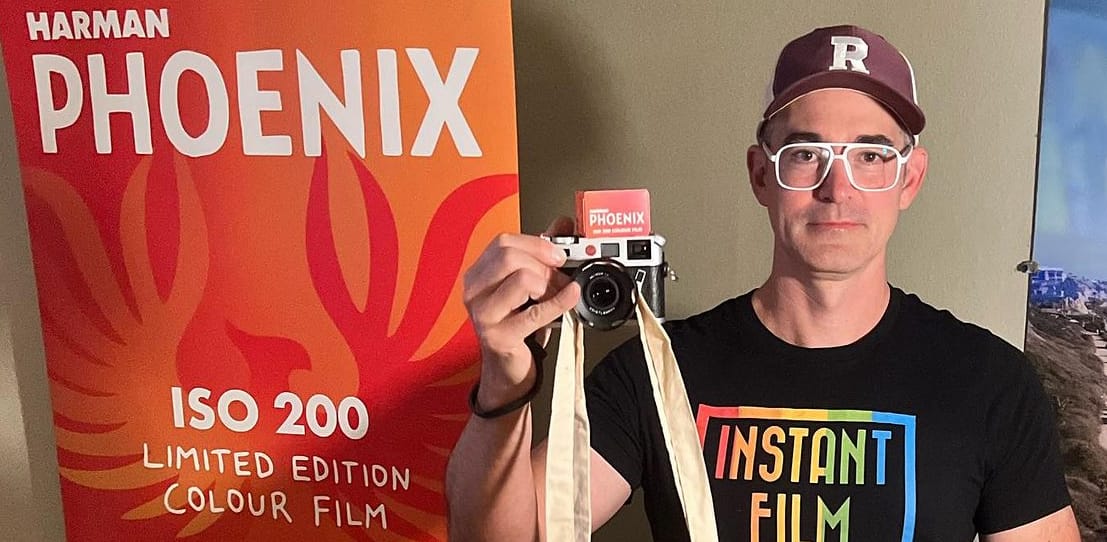

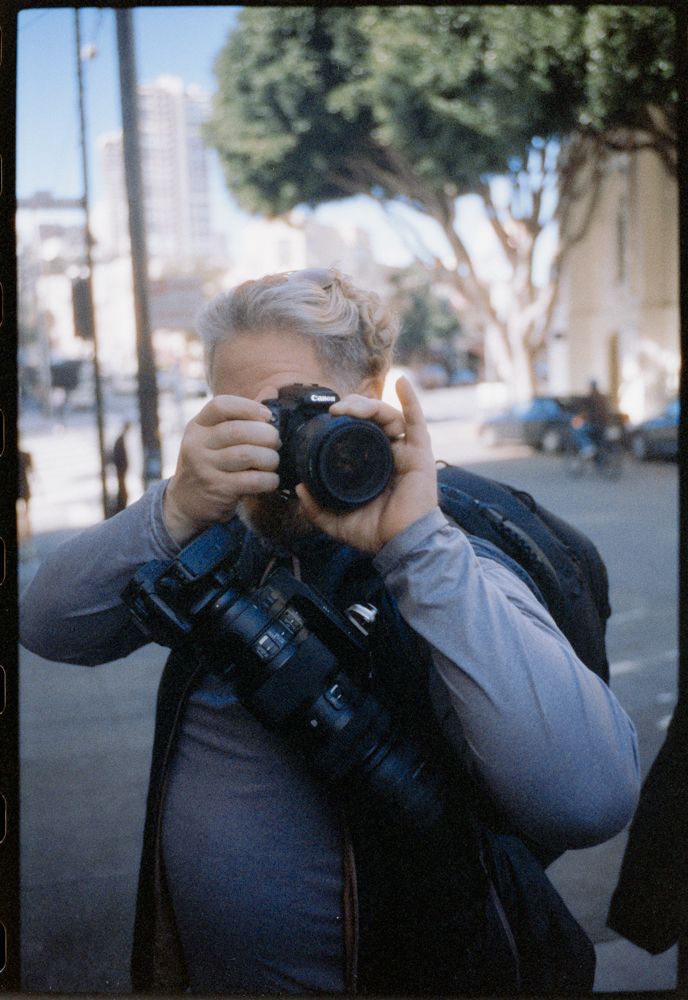
I finished up a second roll of Harman Phoenix 200 on the Leica M7 (seen in the feature image), and meticulously took notes for most of the shots. I then shot them side-by-side with my Leica M10-P using the same ISO, f/stop, and shutter speed.
I shot half of the roll at +1EV (effectively 100 ISO) and the the second half at +1/3EV (effectively ISO 160). Sorry, I never shoot box speed, so deal with it :P
Here are some samples of the native film, along with the preset being applied:
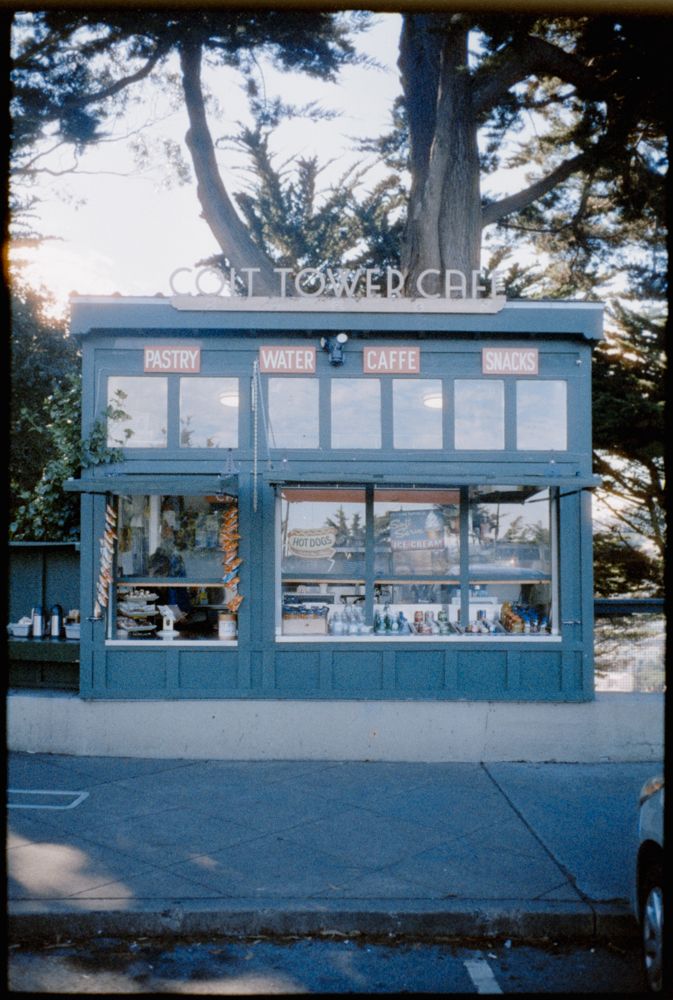
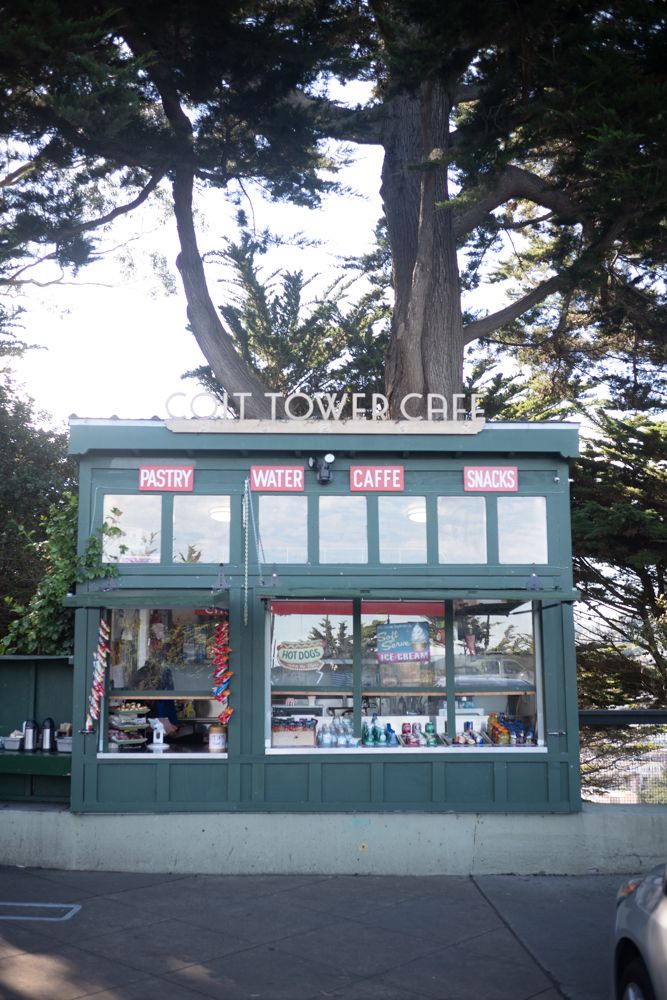
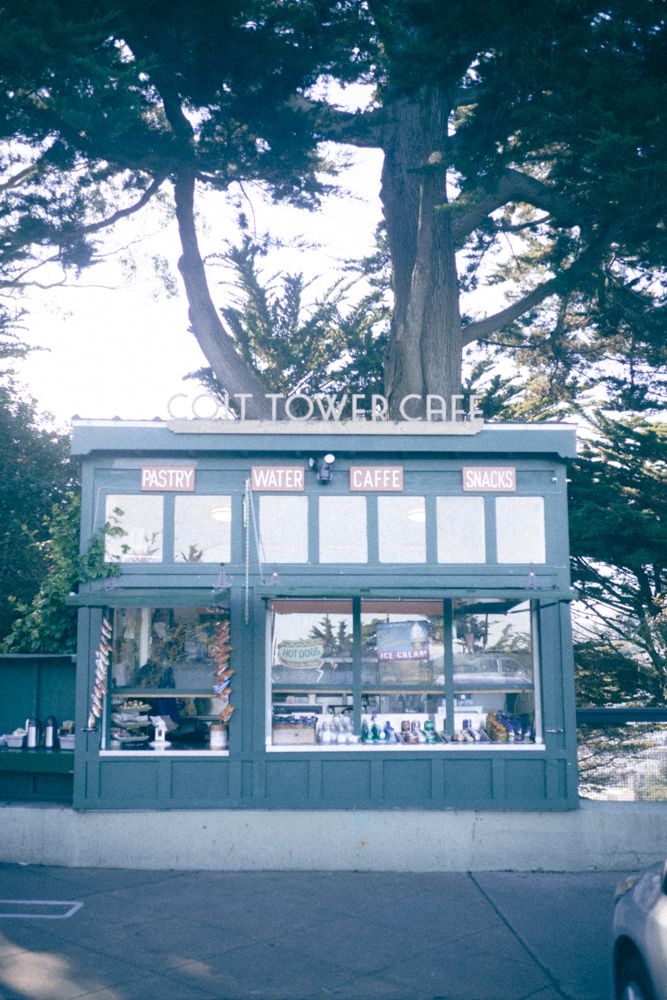
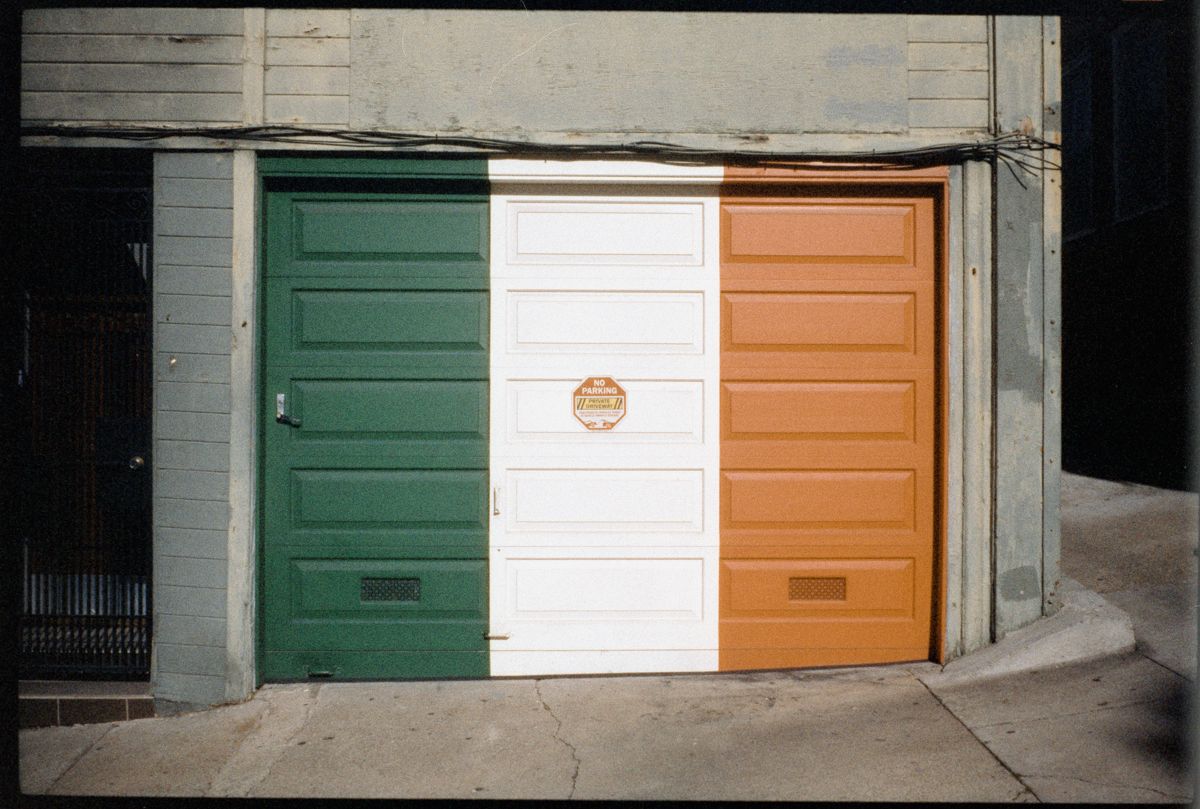
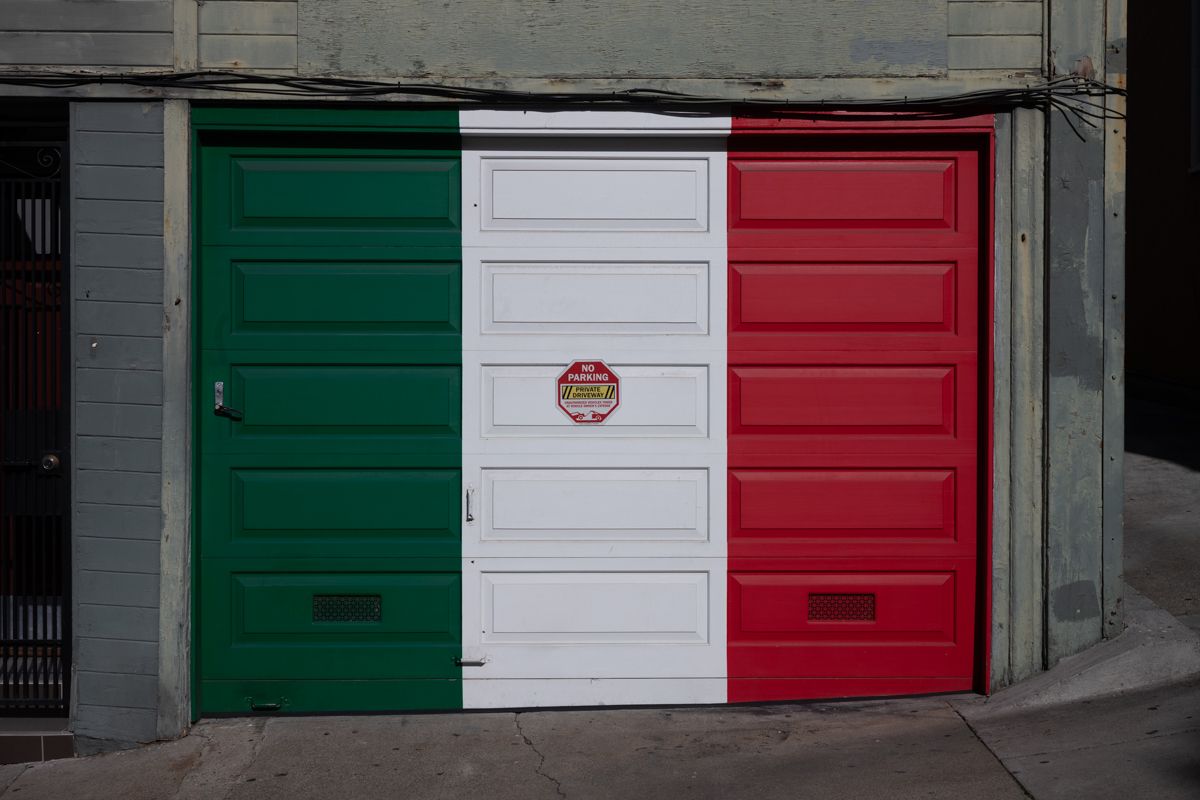
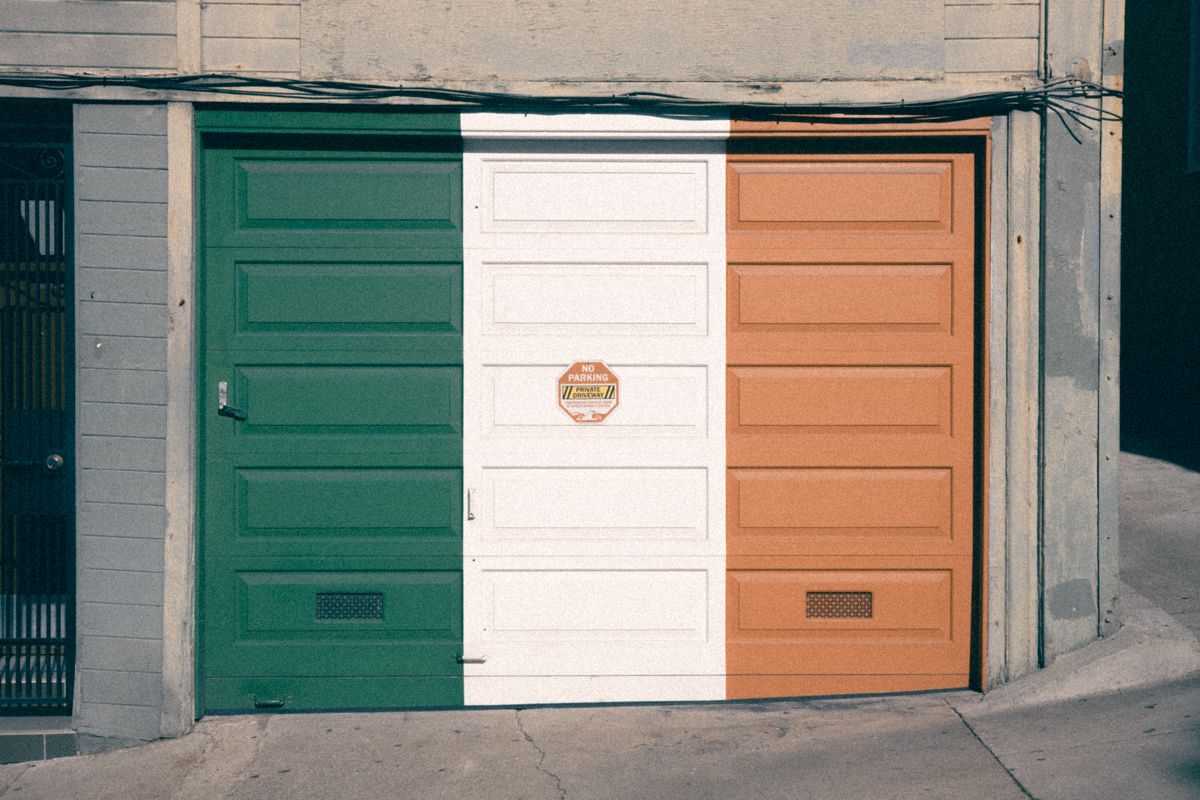
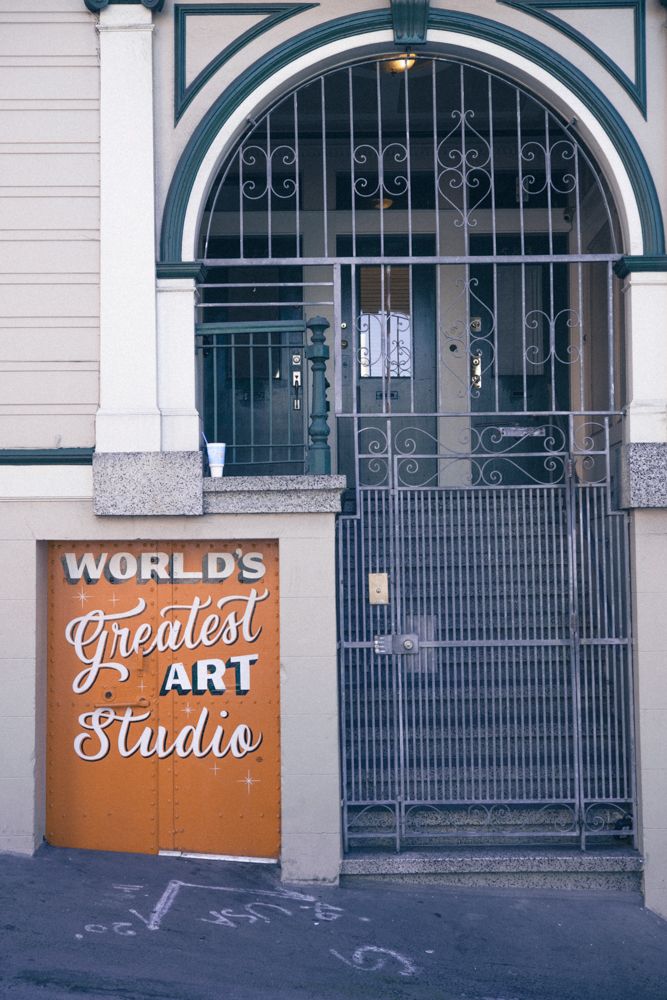
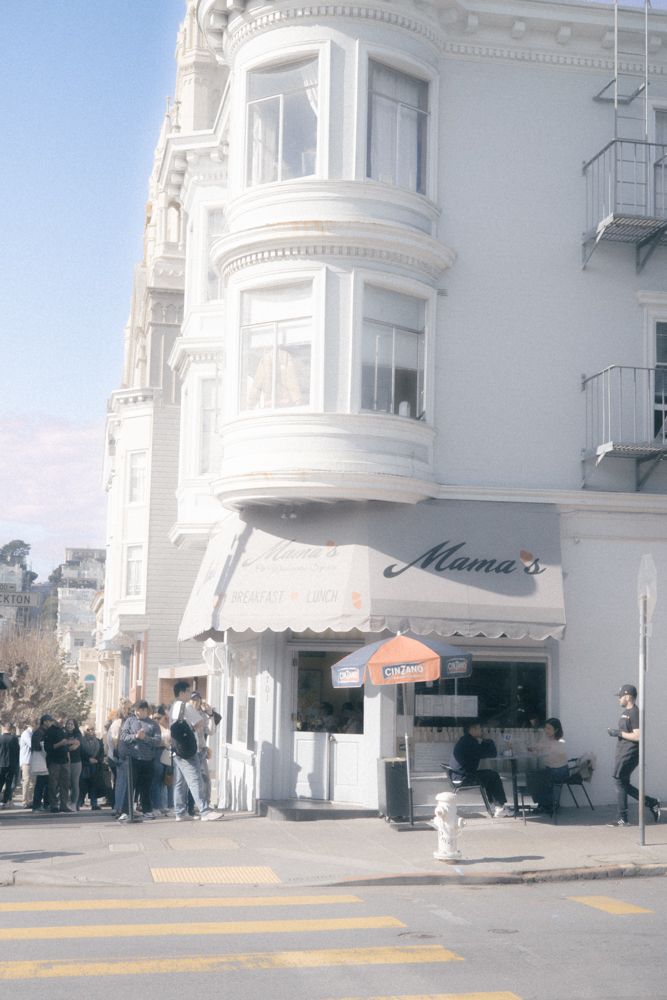
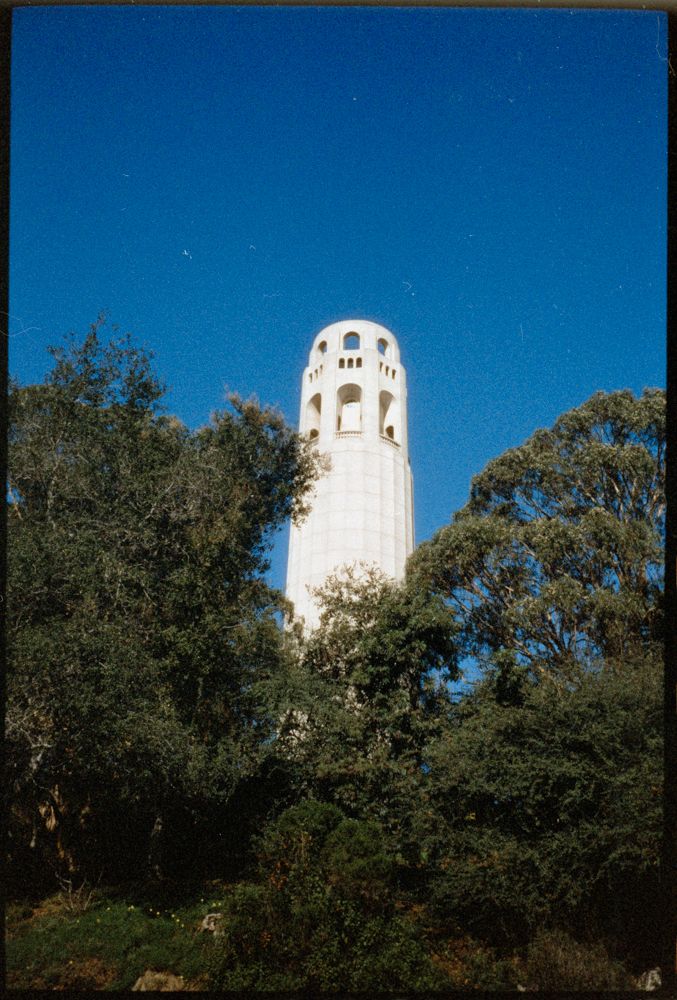
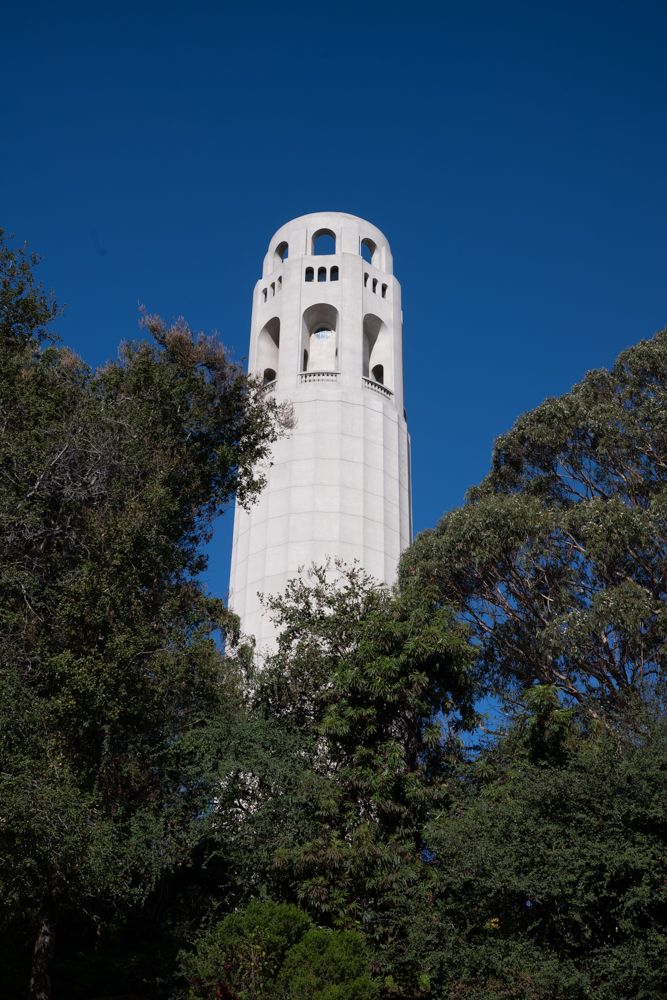
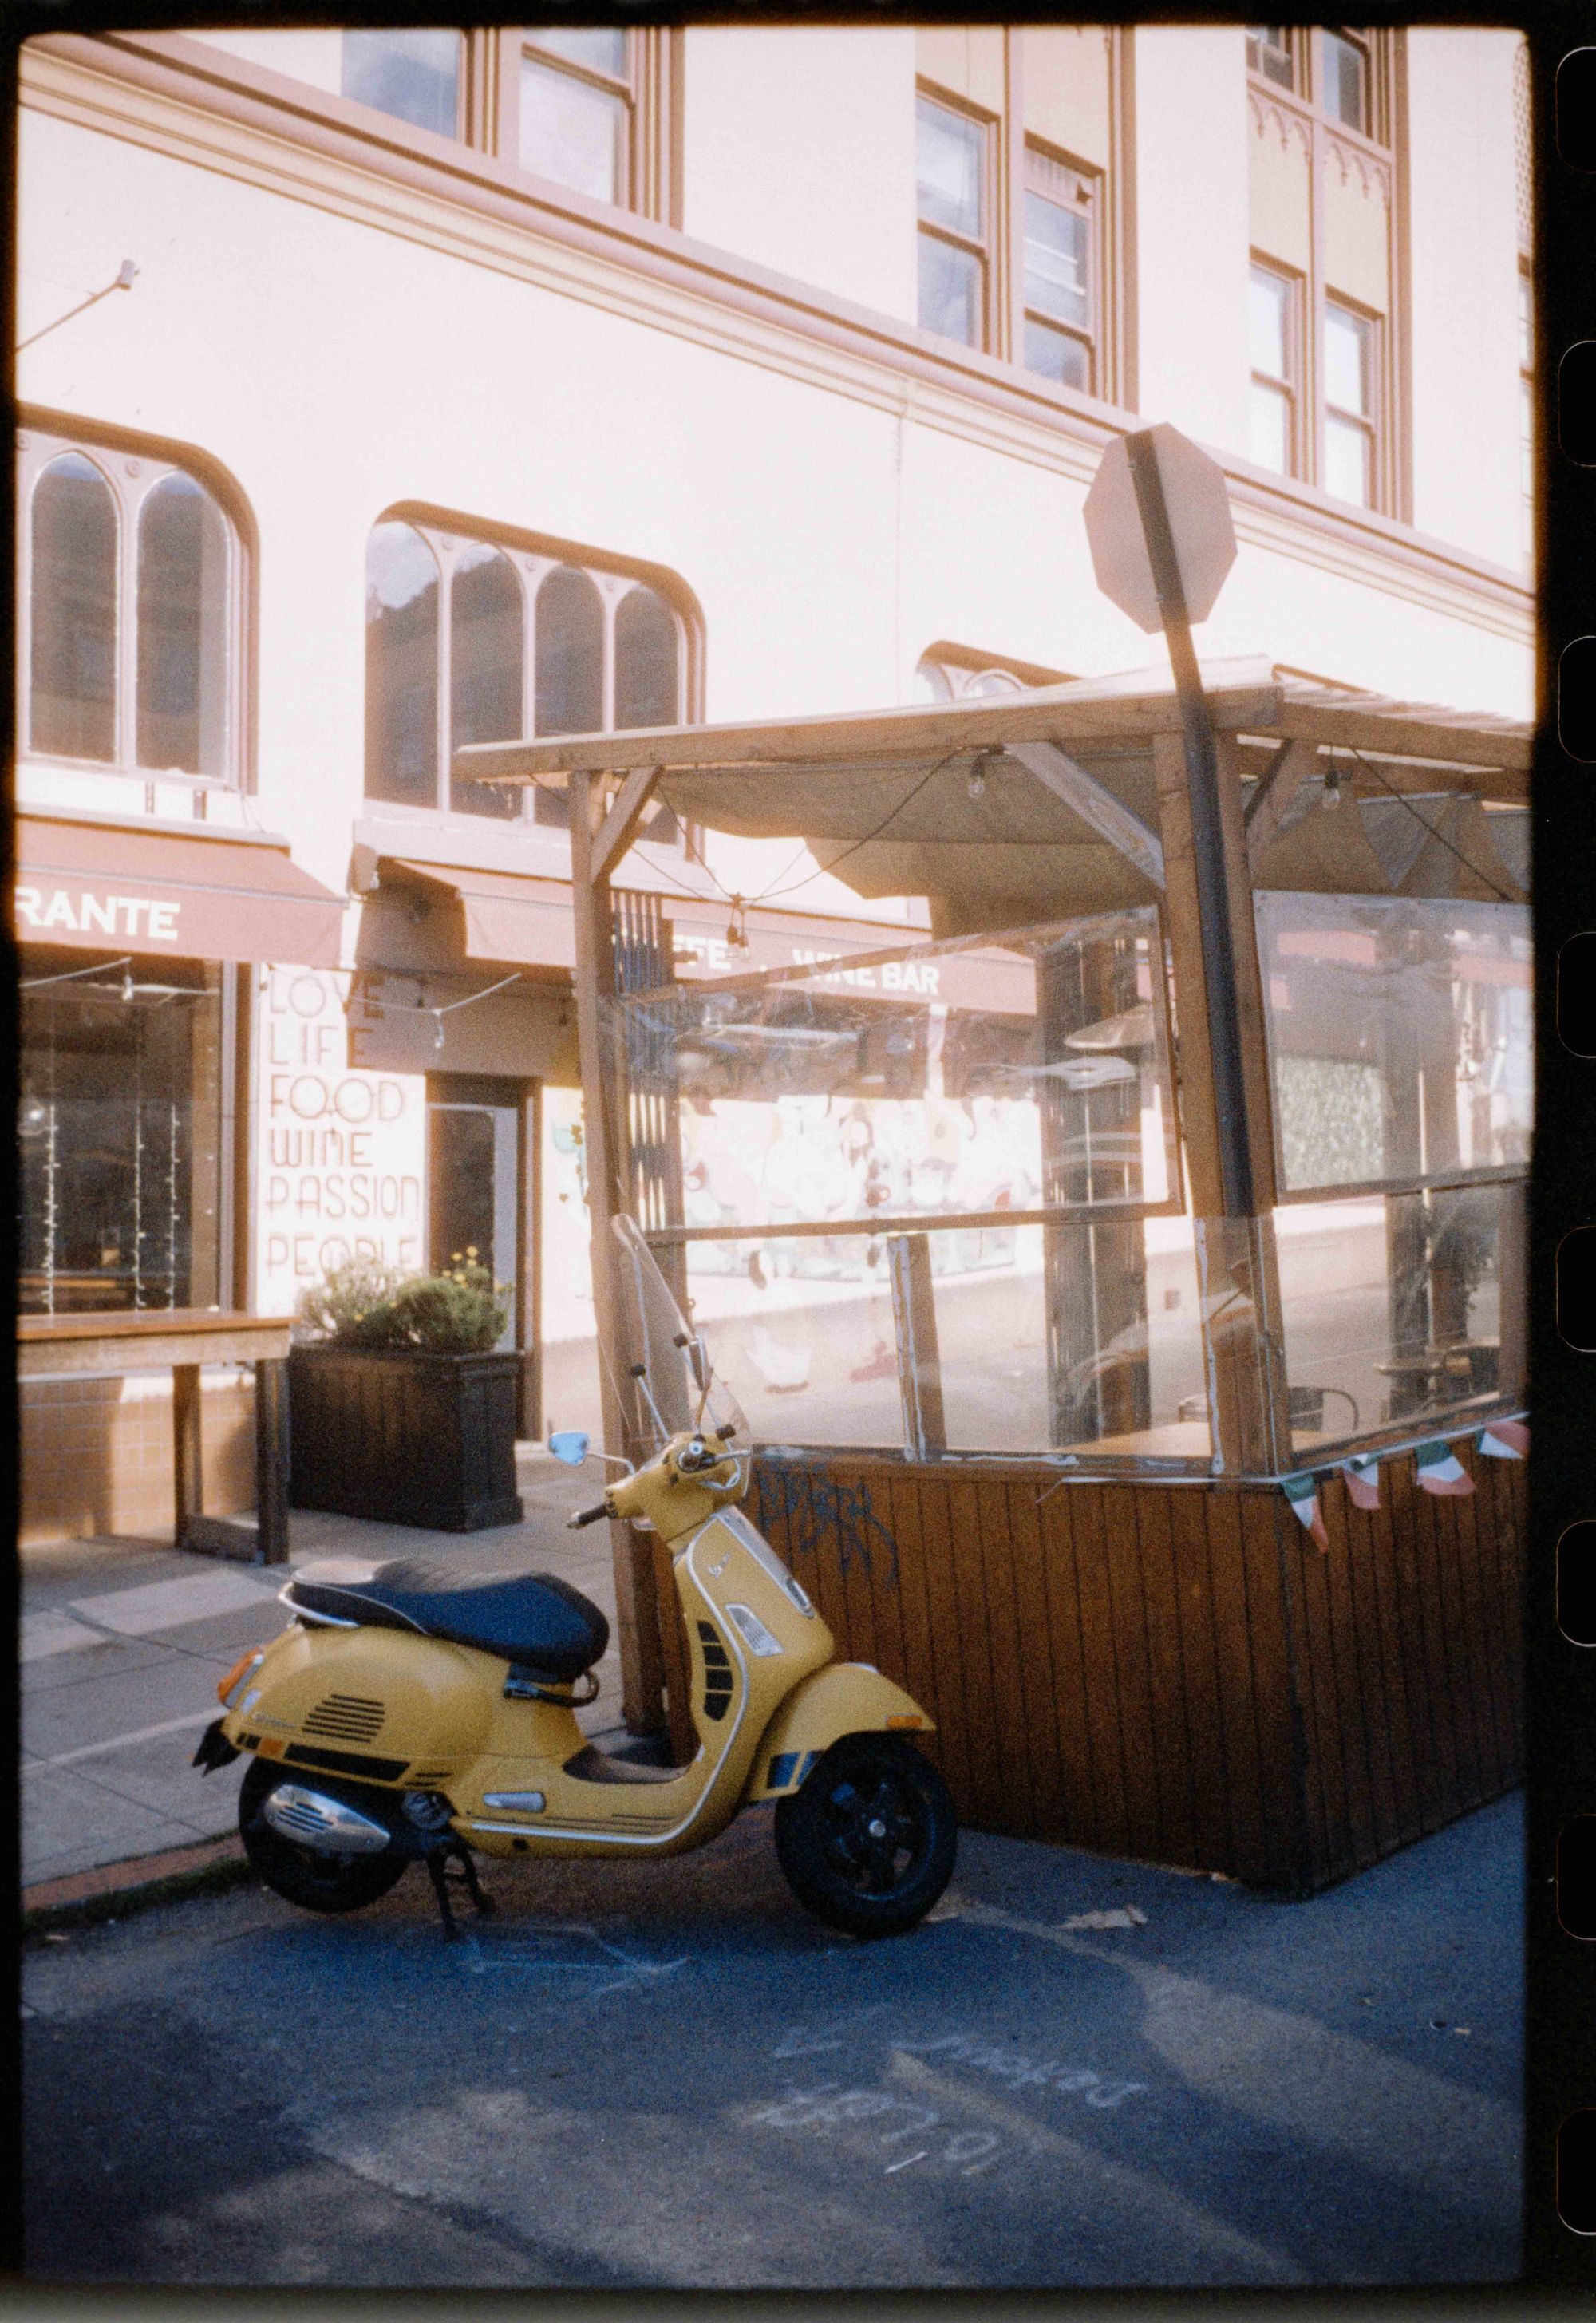
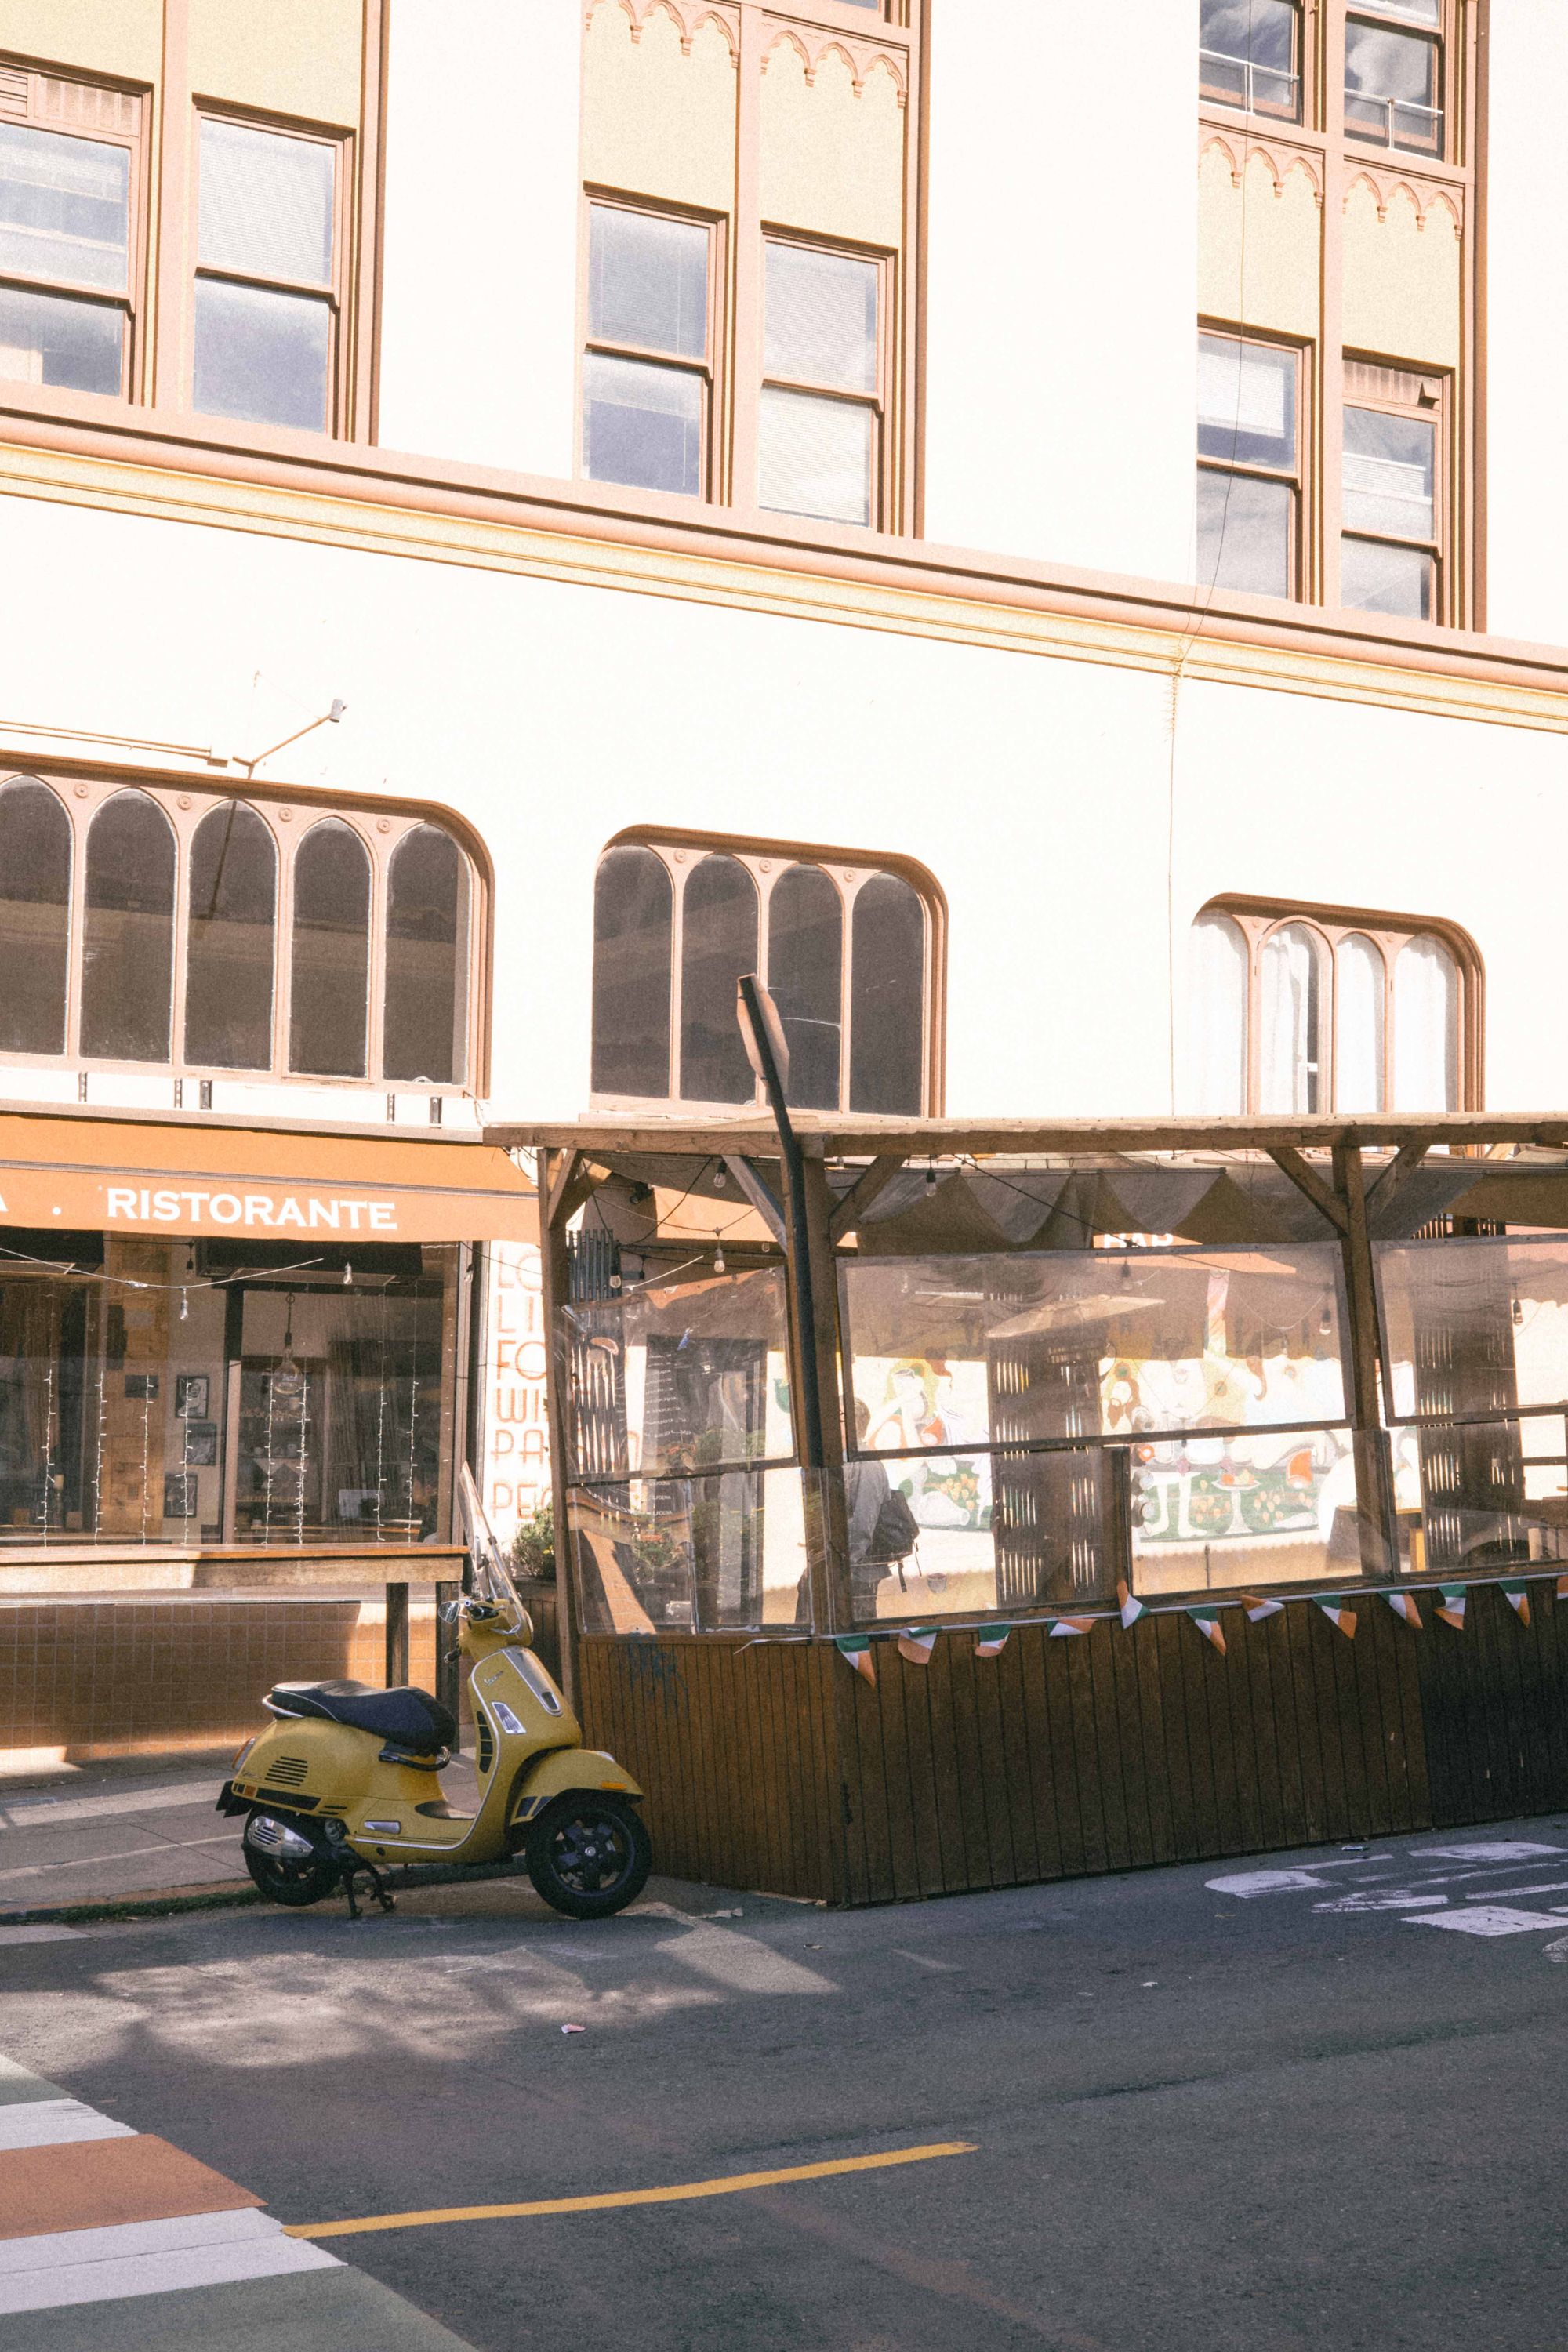
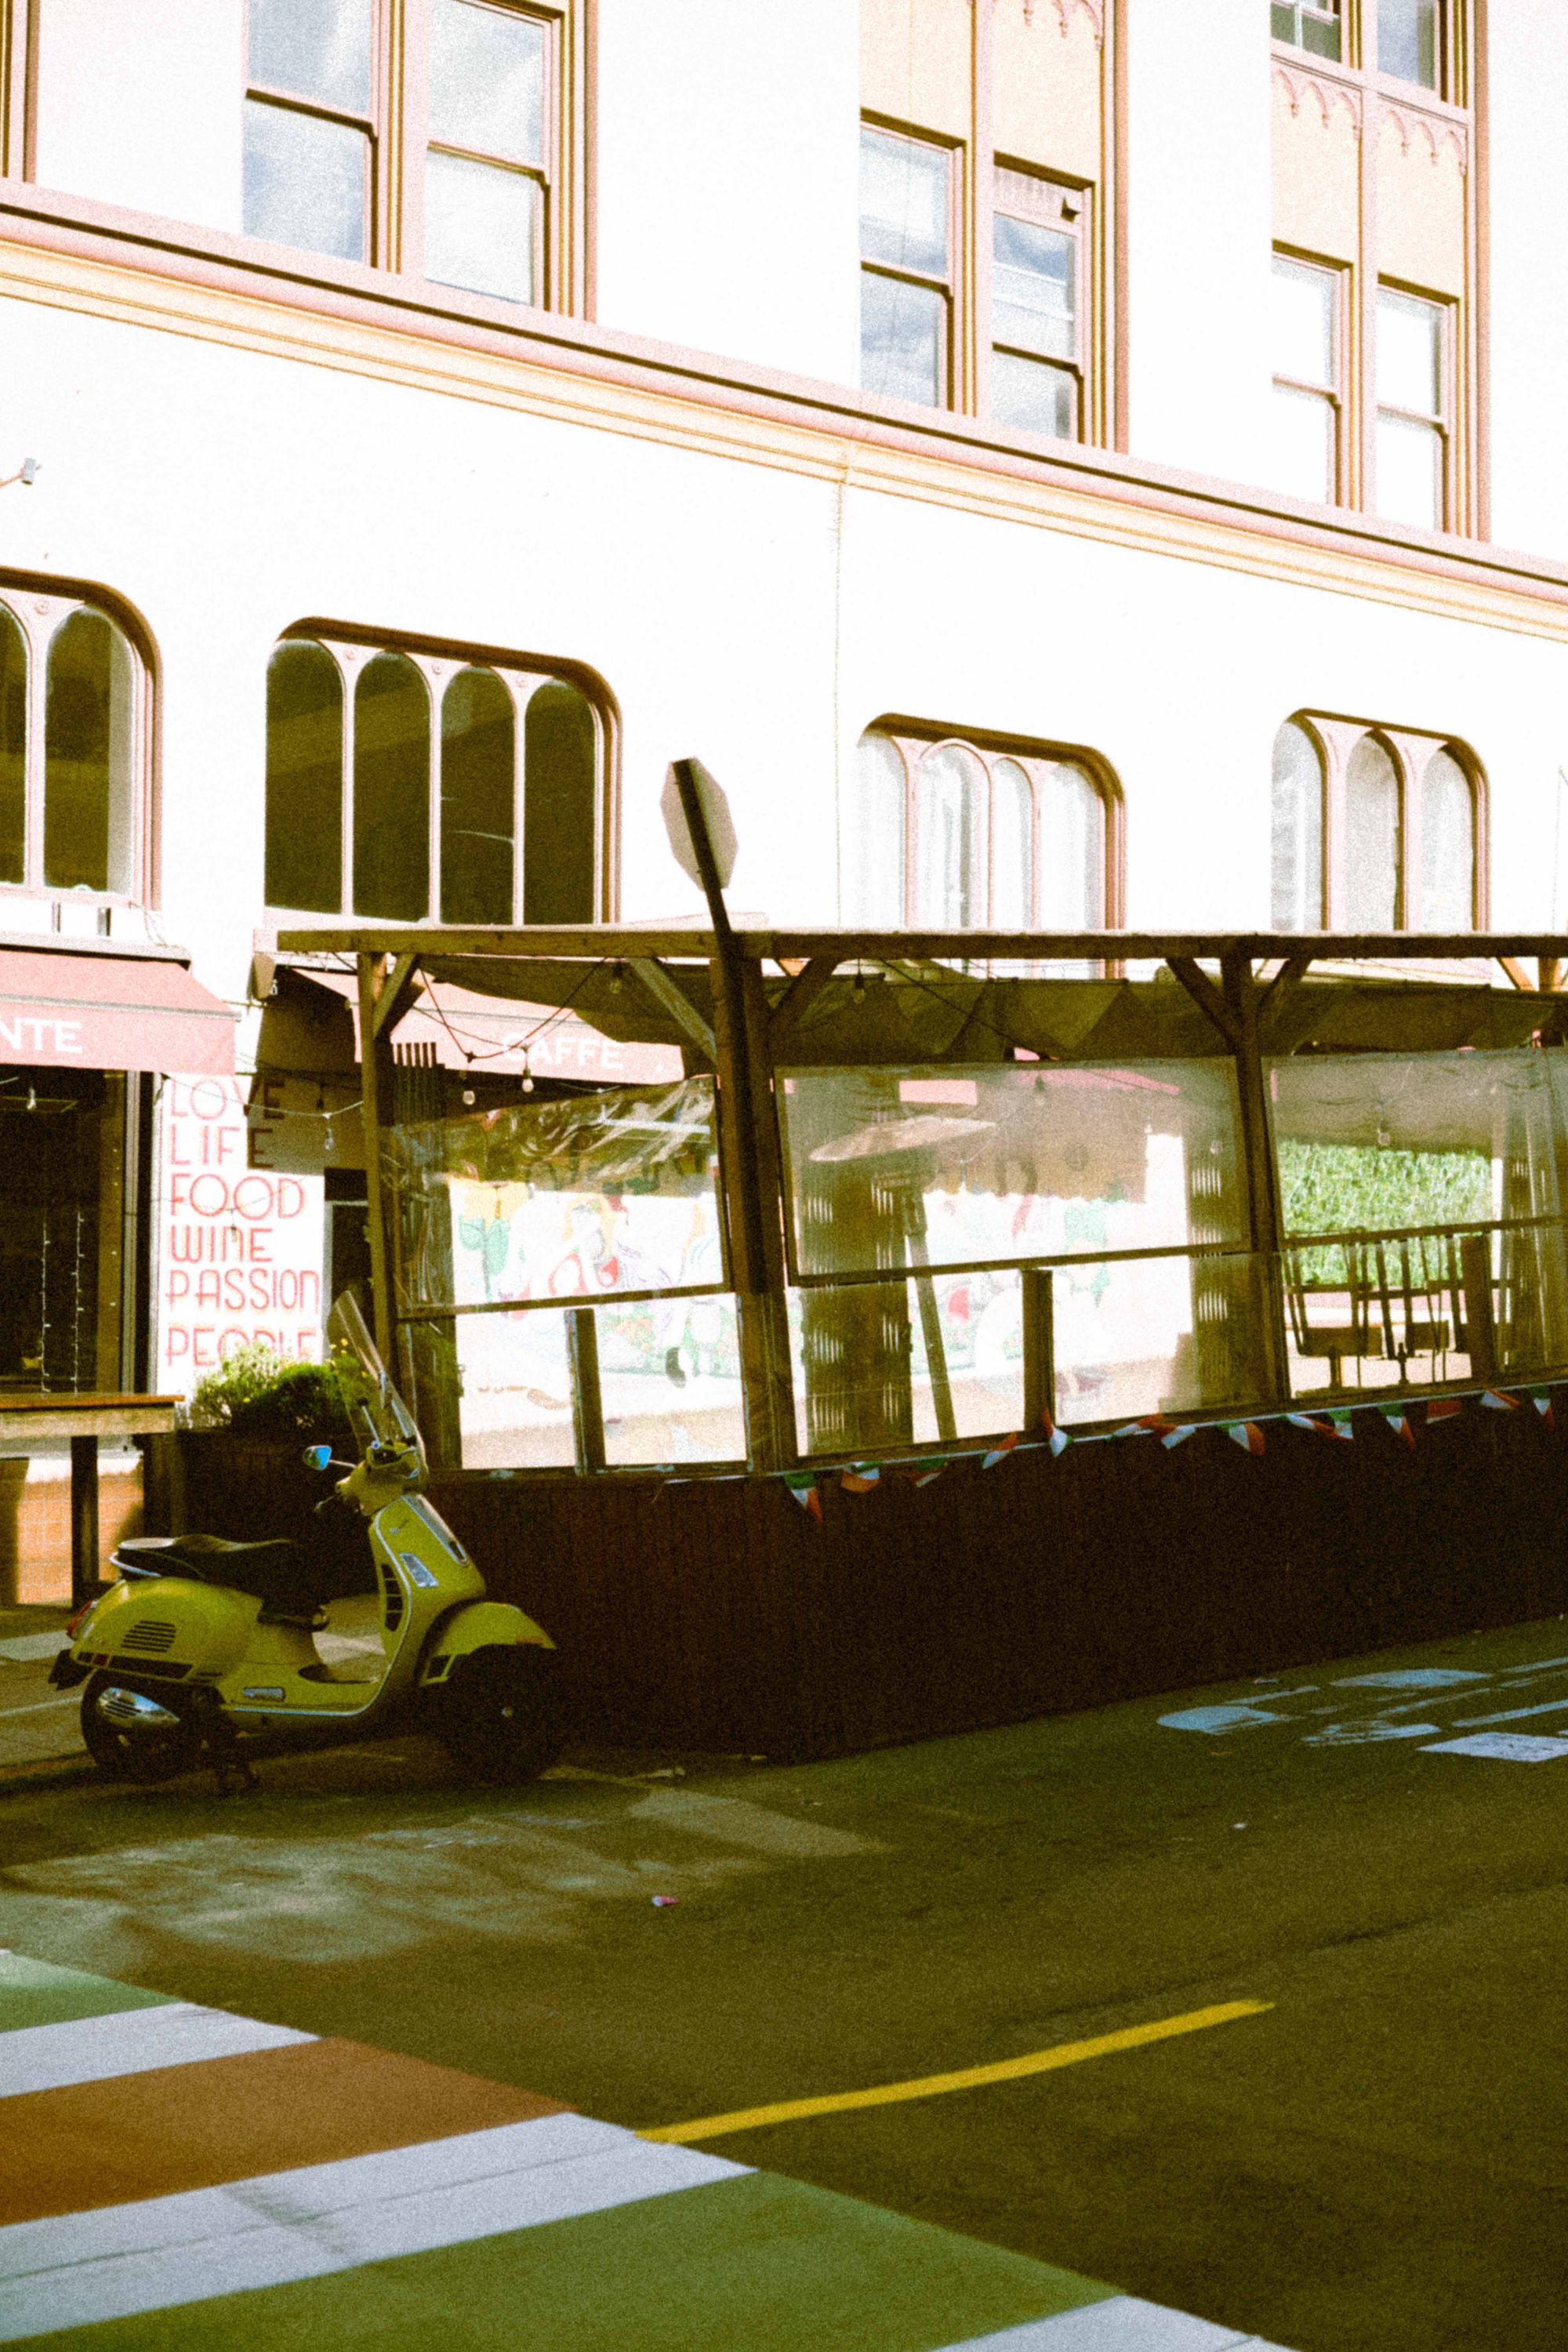
Images (Left to Right) Phoenix 200 Film | Leica M10-P straight out of camera | Leica M10-P with Phoenix Preset applied
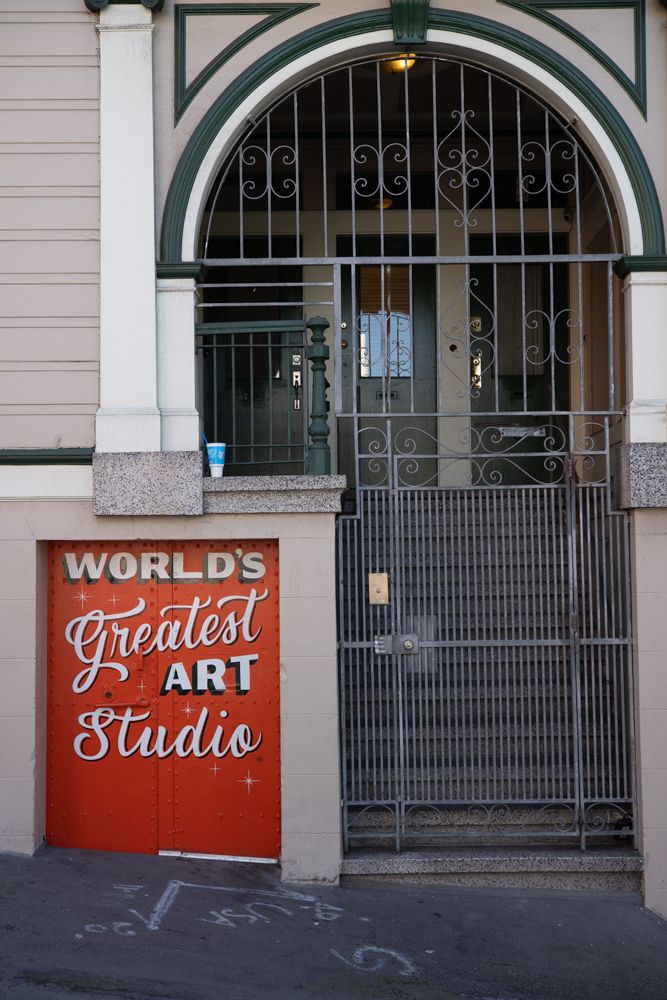
Note the color shift on the garage door that is supposed to be painted in the colors of the Italian flag. The red turned to orange making Italy suddenly Ireland. Go figure 🤷♀️
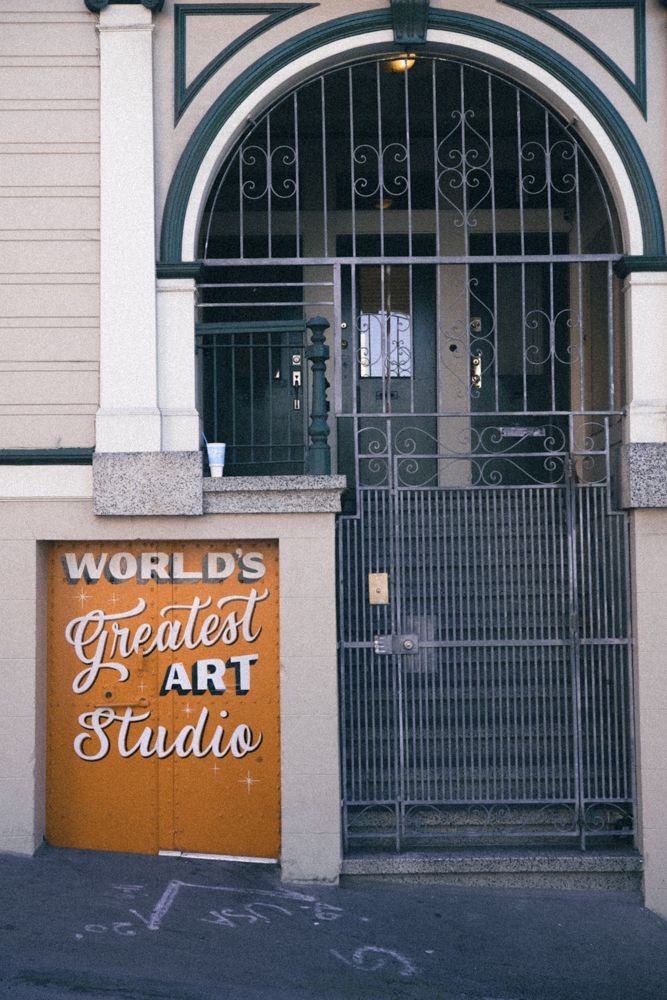
Images (Left to Right) Phoenix 200 Film | Leica M10-P straight out of camera | Leica M10-P with Phoenix Preset applied

I copied the workflow similar to the MastinLabs presets where you start from the top and apply the preset, then work your way day to tweak to your liking.
Normally I would set the white balance temperature and tint, but it seems like Phoenix 200 is somewhere above daylight and seems to me to be around 6300K. That's where I've started for this iteration at least. Feel free to experiment.
Images (Left to Right) Phoenix 200 Film | Leica M10-P straight out of camera | Leica M10-P with Controlled and Flat Scan emulation (1b) | Leica M10-P with Punchy & Crunchy emulation (1a) | Leica M10-P with Punchy & Crunchy emulation (1a) + Green Shadows tone control applied

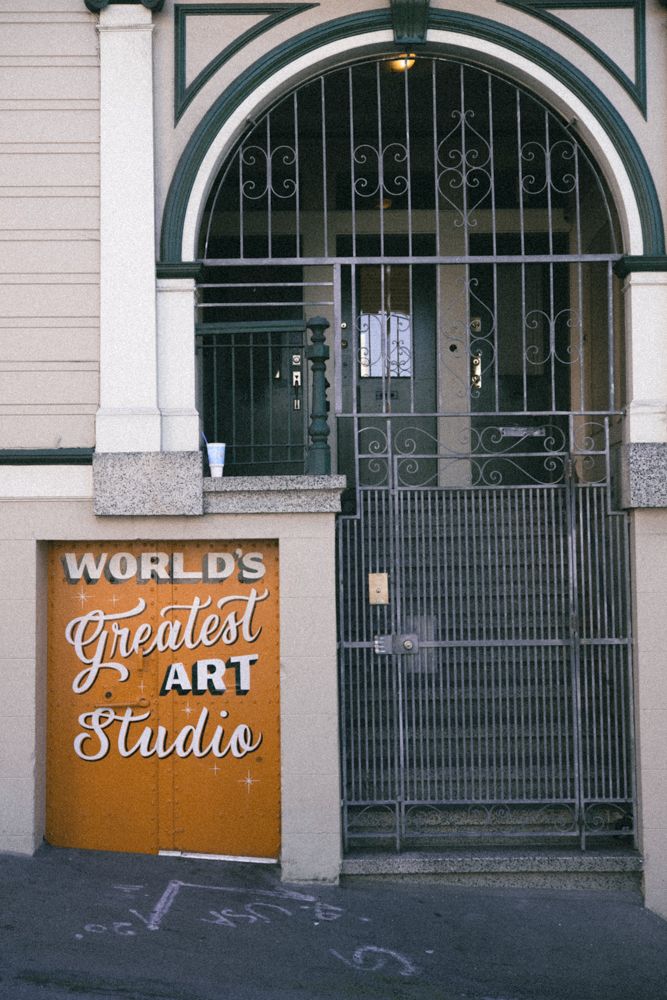
Images (Left to Right) Phoenix 200 Film | Leica M10-P straight out of camera | Leica M10-P with Phoenix Preset applied
Emulating overexposed Phoenix 200
Below is an example where I accidentally overexposed Phoenix by 3-4 stops. Highlights started to go, so figured I would make an emulation for that as well.
Images (Left to Right) Phoenix 200 Film | Leica M10-P straight out of camera | Leica M10-P with Controlled and Flat Scan emulation (1b) + strong backlight mod (2d)
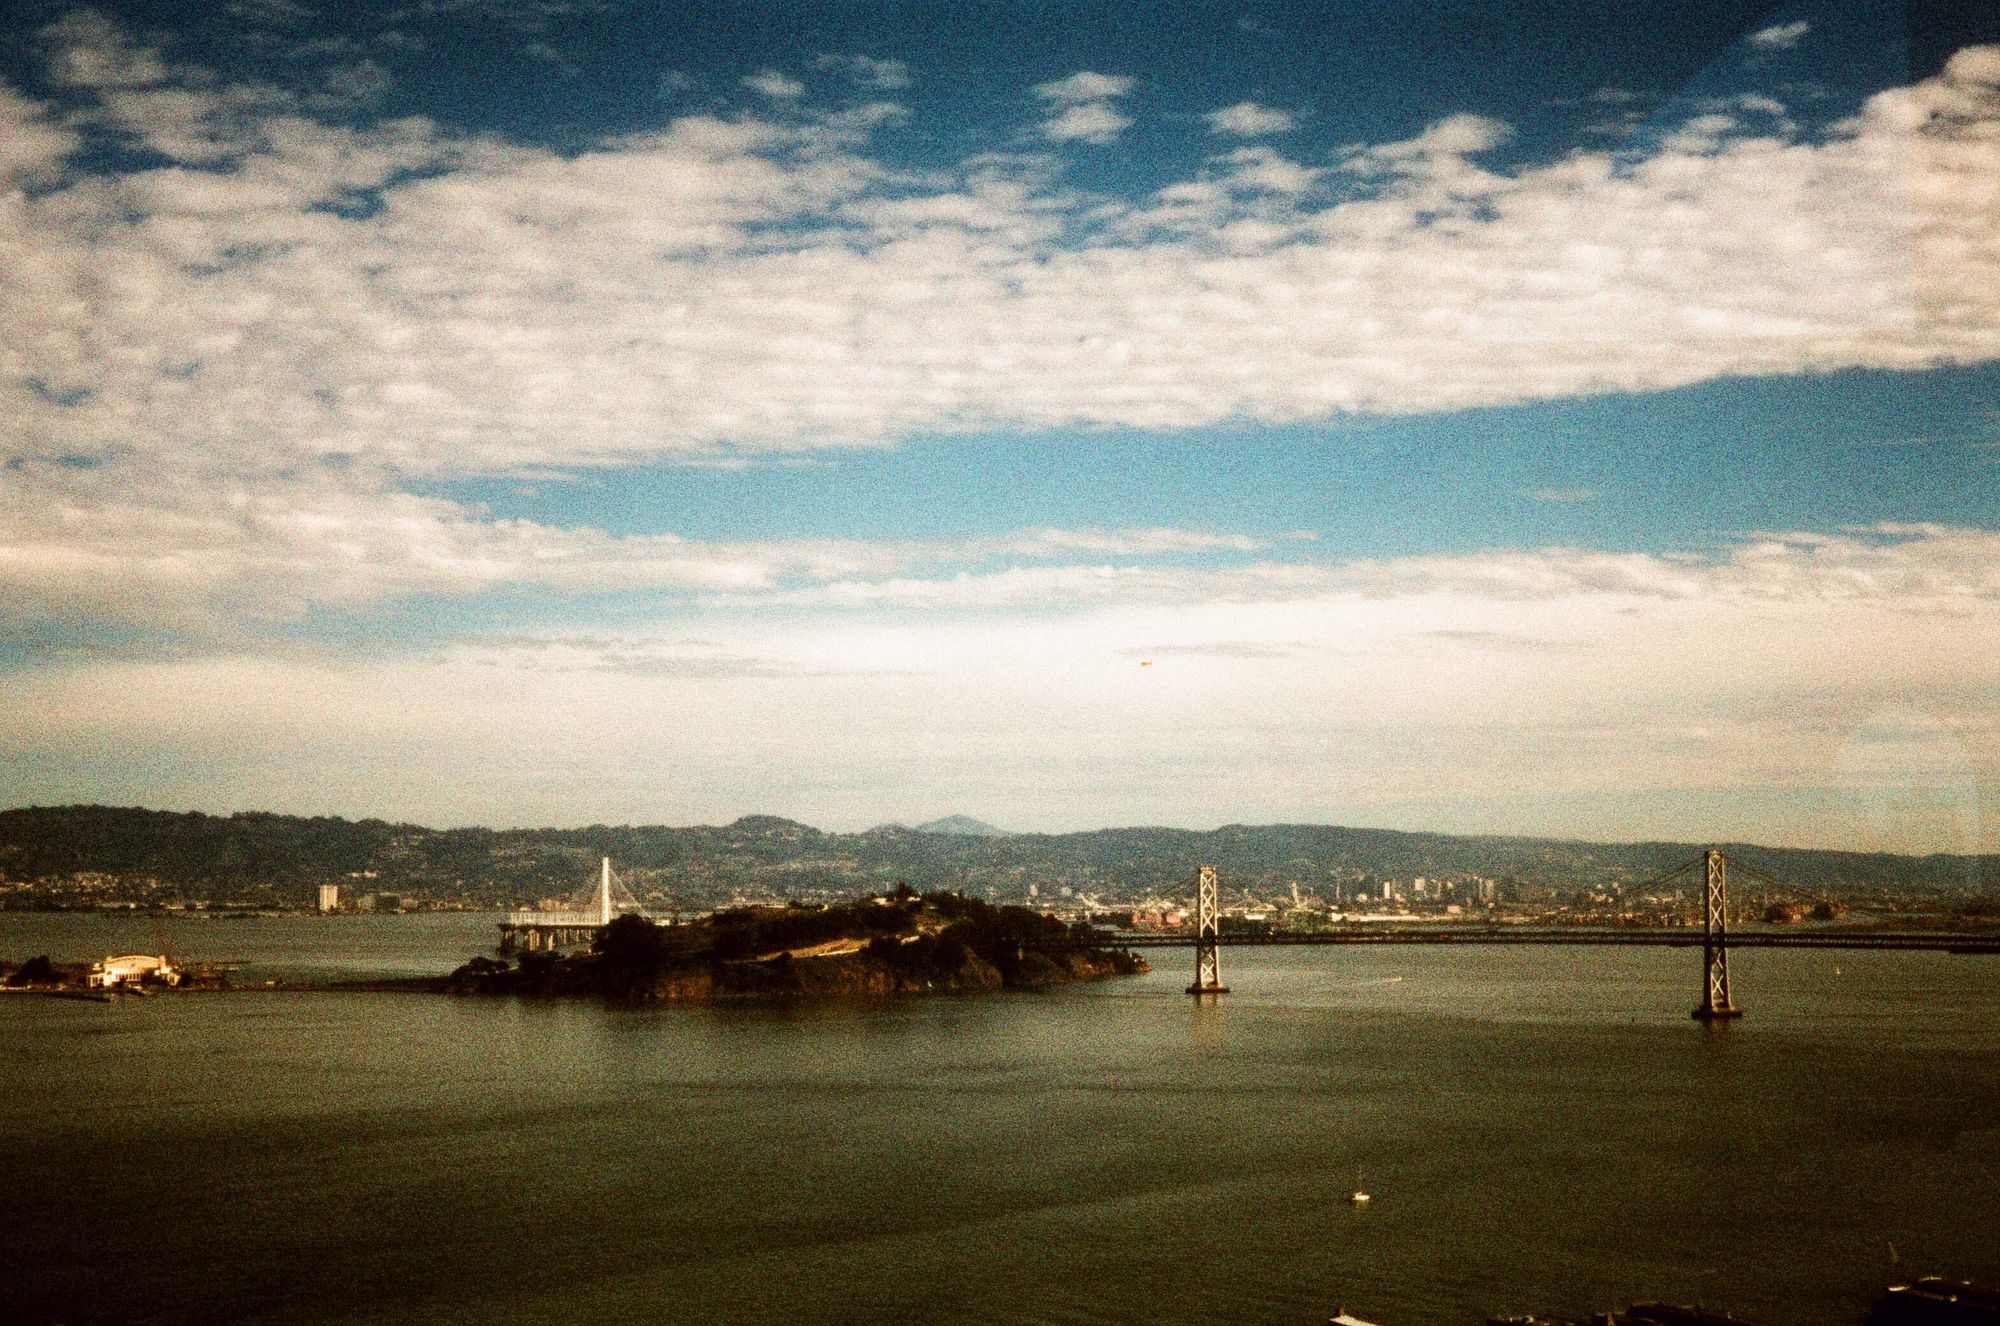
Very Blue Skies
I noticed some with the center-weighted meter that if the sky was the primary light source, the color turned a very strange, saturated color. I was able to emulate this by using the Crunchy preset along with the smart AI filter for selecting the sky and adding the appropriate shade of "nuclear" blue.

Images (Left to Right) Phoenix 200 Film | Leica M10-P straight out of camera | Leica M10-P with Punchy & Crunchy Emulation (1a) + Nuclear Blue Sky (3a)
Emulating Uncorrected Lab Scans
I added a third option that emulates photo labs that appear to be running the negatives through without color correcting them.
Images (Left to Right) Phoenix 200 Film | Leica M10-P with Punchy & Crunchy Emulation (1a) + Reduce highlights (2a) | Leica M10-P with Orange You Glad Emulation (1c) + Reduce highlights (2a)
Images (Left to Right) Lab Scan | Leica M10-P with Orange You Glad Emulation
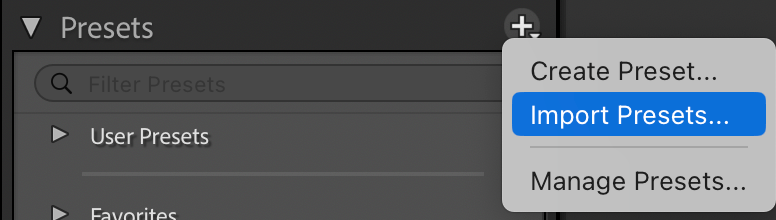
How to Install : Lightroom Classic
In Lightroom Classic, go to the Develop module. Then click on the Plus icon. Choose Import Presets.. and select the zip file from above.
If you happen to only have the unzipped folder with the xmp files, make sure you shift+click all the .xmp files to import the entire preset pack.
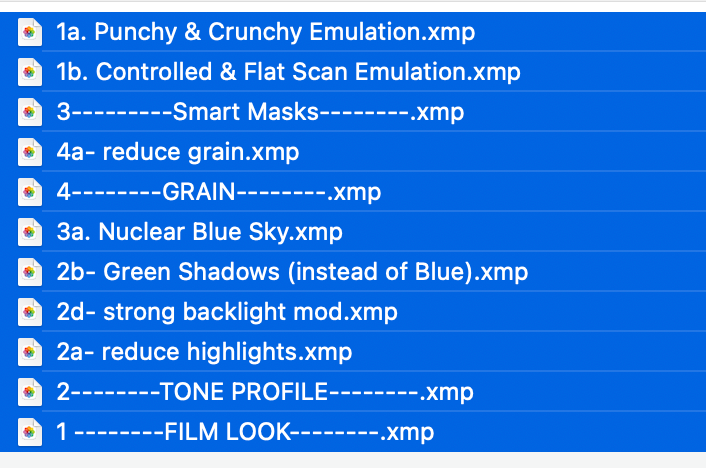
.xmp files to import the entire preset pack.How to Install : Lightroom
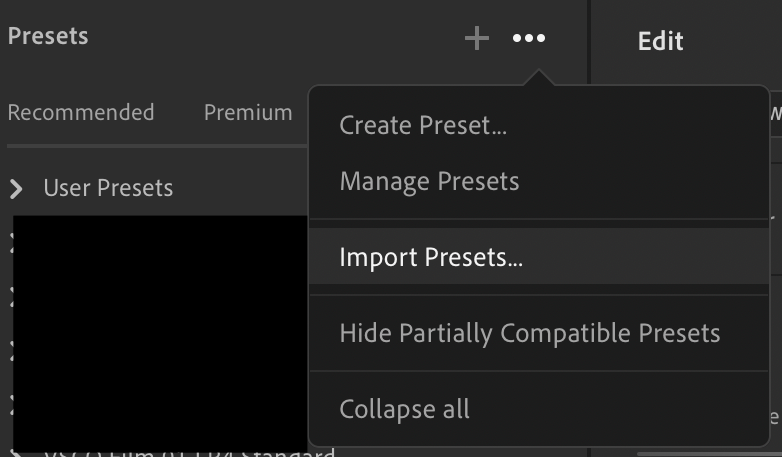
Go to the Preset view via Shift+P command or by clicking the two circles on the upper right of the interface.
Click on the ellipsis ... after the + symbol to import the preset pack. Ideally just click the .zip file and you should be good to go.